We are starting a new idea and will begin posting “Teaching Posts” every now and then. This is our first Teaching Post on how we set up our lights and shelves to start seeds. If you want to start your own seeds, read on. If you’d rather just buy started plants from me skip to the bottom so you can see how to do that.
We start 95% of our garden plants from seeds. I also sell seedlings to others, and I donate seedlings to organizations that grow gardens to help the community. I start between 2,000 and 5,000 plants from seeds every year! I would love to help others learn to start their garden plants from seed, too!
If you are mindful of your expenses and understand how seeds are germinated, it is really the most economical way to start a garden. You can, however, get carried away and spend a fortune! Just look through seed catalogs – they will sell you so many things that makes starting seeds much more expensive than it needs to be. I’ll admit that there are some tools that will provide a better rate of success. We try, however, to keep things as inexpensive as possible.
Earlier this month, I set up my seed starting shelves. For the last two years, we started seeds in a small corner of the 500 sq ft apartment over our garage where we were living while we renovated the farmhouse. Since we have moved into the farmhouse and have cleaned out some of the storage in our garage, I’m moving my seedling set-up to the garage. I’m excited that I’ll have so much more space, and since it’s on the ground level, both watering and hardening off the young plants will be easier.
My seed starting set-up has been the topic of many conversations, both in person and online, over the years, so I thought I’d show you how I do it. The set-up has changed over the years (last year I used a bunk-bed frame), but the ideas are still the same, and I’m sure you can figure out how to replicate a similar set-up in your own space.
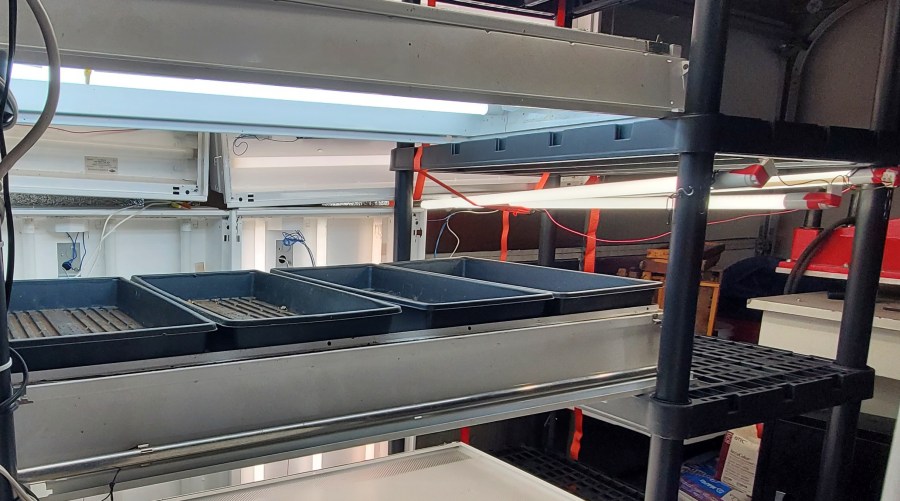
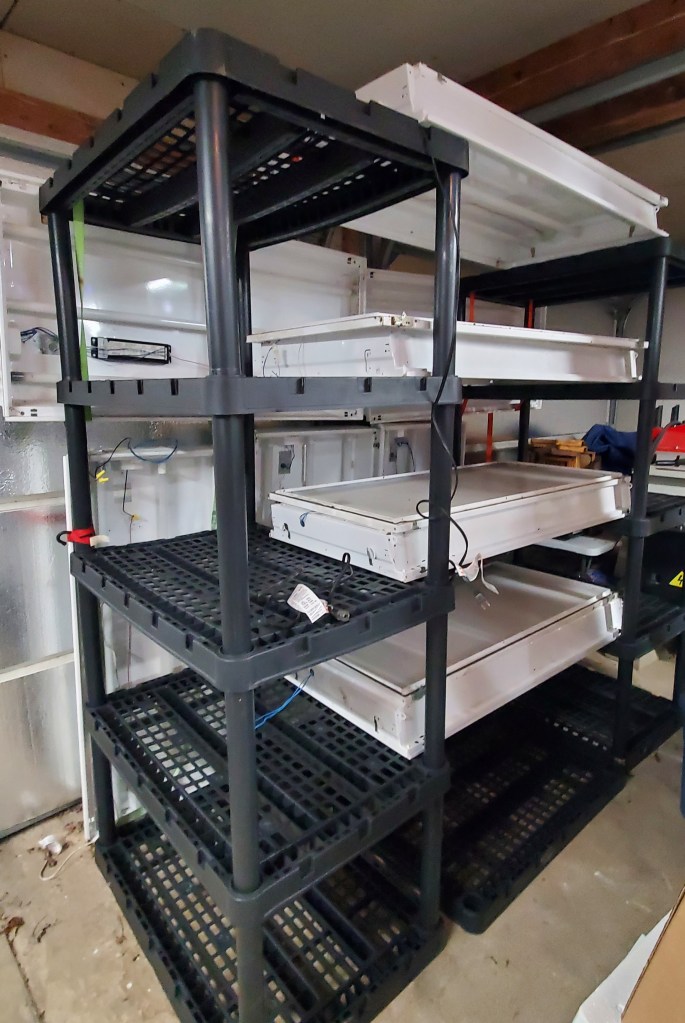
The basic premise is to have several shelves with lights above each shelf.

Several years ago, I found these office lights online for $3 each, so I bought 15 of them. I bypassed the ballast and changed the light bulbs to LED bulbs. Plants grow MUCH better under the LED lights. I then wired each light to a plug (they were set-up for hard wiring). I’m not an electrician so I’m not going to give you detailed directions on how to wire the lights, but I will tell you that there are many resources online – that’s how I learned!
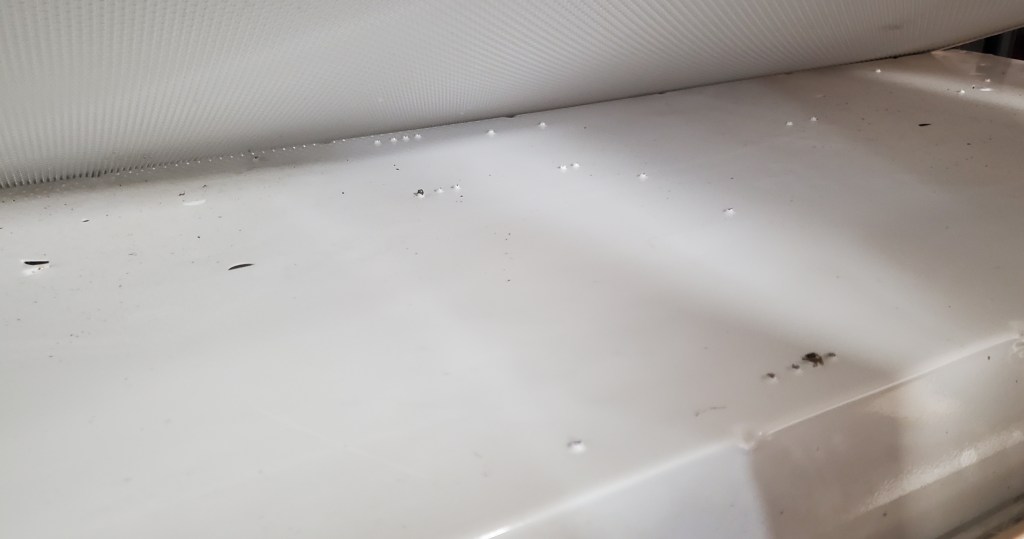
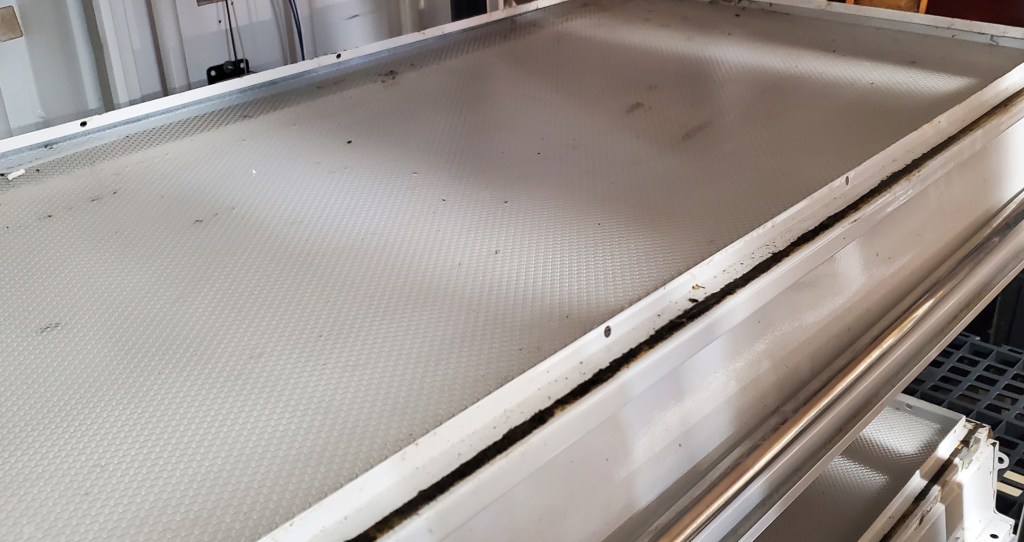
I used 2 plastic shelving units to support the light fixtures. The fixtures not only provide light below, they are also a shelf for the seed trays above. The lights I purchased had holes on the flat side of the metal and they were rough; so much so that they punctured a few seed trays. To fix that problem, I took the plastic lens that used to cover the bulbs and put it on the side with the holes, giving the seed trays above the fixture a flat surface. It is hard to describe, so hopefully the pictures will help my words make sense.
I used ratchet straps to hold extra lights against the shelves to make up a back wall of my growing space. This allows the plants to receive light from different angles. I’ve previously used aluminum emergency blankets to reflect lights across my seedling area.
All the lights are on a timer and are on for 16 hours a day.

I use the space on the black shelves where there’s no direct light above to germinate my seeds (most seeds don’t need light until they have leaves). I have heat mats set up in those areas. I start new seedling trays every 3-5 days, as I have space on my heat mats. I’ve not found the need to purchase more heat mats and the staggered seed starting has worked fine for me.
With the set up as it is in these pictures, I can start 6 seed trays at a time, plus have 16 trays under lights. We will be building additional shelves to start even more seeds. I will be starting herbs and some flower seeds this week, but the bulk of my seed starting will be after Valentine’s day. Watch for another “Teaching Post” when I start seeds.
If you are not interested in starting your own seeds, but want to have good, healthy seedlings, let me know. I’d be happy to sell you some of mine. I’ll even start specific varieties if you let me know what you want. We will have an on-farm sale in late April and early May, depending on our weather (sorry, the time and effort to ship seedlings is extremely cost prohibitive).
Please follow us here, on Instagram, and Facebook for updates on plant sales and to watch the progress of our growing apple orchard: @Newtown_Orchard
